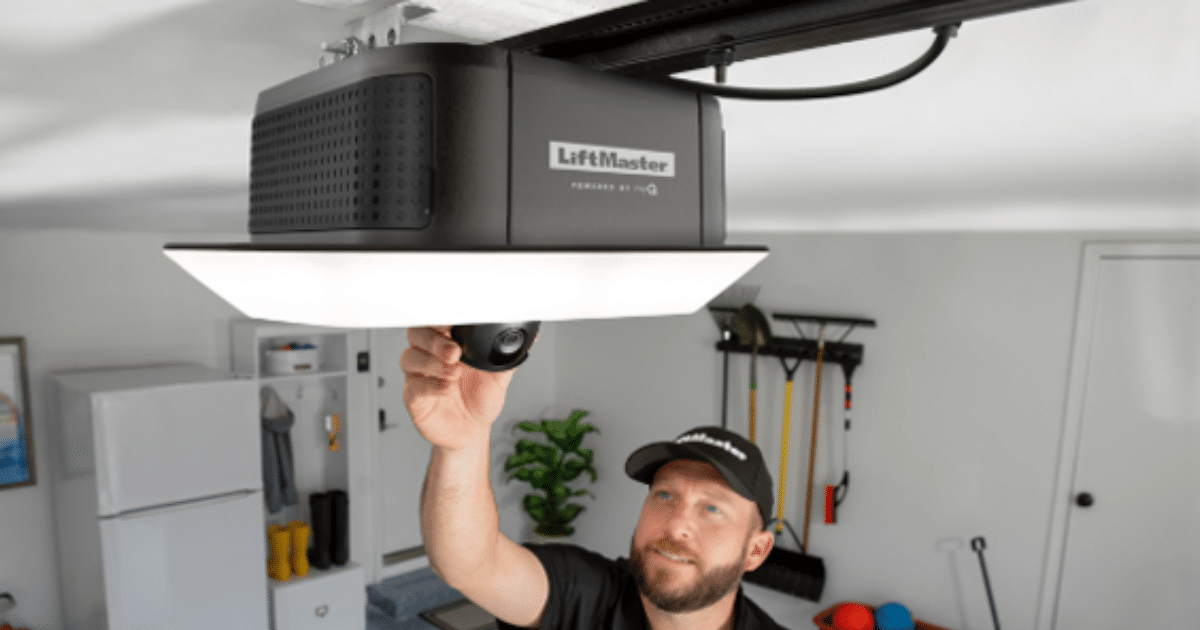
A garage door opener that stops working without warning can bring the entire household to a halt and disrupt the flow of an otherwise normal and productive day. Knowing how to reset it correctly and in the proper order prevents minor malfunctions from escalating into full system failures requiring professional intervention.
The reset process covers more ground than simply cycling the unit’s power and waiting for it to respond on its own. This guide walks through every step, from identifying the root cause to completing the full reset, so the door runs properly and stays in good working condition over the long term.
Why a Garage Door Opener May Need a Reset
When a garage door opener stops working, the cause is rarely obvious at first glance, and identifying the root cause determines whether a simple reset will restore the system or a deeper problem requires professional attention.
Here are the most common reasons an opener may need a reset:
- Power outages and voltage fluctuations wipe stored remote codes.
- Nearby wireless devices interfere with the remote control signal.
- An accidentally activated lock button disables all remotes.
- A tripped circuit breaker cuts power and clears the opener’s memory.
- Sensor misalignment triggers the safety feature, stopping normal operation.
To understand the full range of failures behind a broken-down opener, read our guide on What Causes a Garage Door Opener to Stop Working?, which covers the common problems a reset alone cannot fix.
Signs a Garage Door Opener Needs to Be Reset
Identifying the early signs of a garage door opener not working correctly helps determine whether a reset is the right course of action.
Here are the most common signs to watch for:
- The opener runs its full cycle, but the door does not move.
- Remotes stop responding even after installing fresh batteries.
- The wall switch operates the door, but the remote control does not.
- The opener starts moving the door, but reverses before completing the cycle.
- The opener powers on but makes unusual noises without engaging the door.
Each of these signs points to a programming or communication error that a proper reset can resolve before garage door opener repair becomes necessary.
What to Check Before Resetting a Garage Door Opener
A few quick checks before performing a reset can pinpoint the actual source of the garage door opener issue and prevent unnecessary troubleshooting steps.
These are the key areas to inspect before starting the reset process:
- Test the power source by plugging another device into the same outlet.
- Check the circuit breaker and fuse box for any tripped breakers.
- Inspect the photo eye sensors for misalignment, dirt, or obstructions.
- Test the wall switch to confirm the opener unit receives a hardwired signal.
- Pull the emergency release cord to manually operate the door and rule out mechanical issues.
Running through these checks first confirms that a reset is the correct course of action before any reprogramming begins.
What to Prepare Before Resetting a Garage Door Opener
Having the right materials and information ready before starting the reset process prevents interruptions and ensures every step is completed correctly.
These are the key items to prepare before beginning:
- Locate the user manual or look up the specific garage door opener model online.
- Find the learn button on the motor unit before starting the reset.
- Gather all remotes and keypads that need reprogramming.
- Install fresh batteries in every remote before the reprogramming process begins.
- Have the keypad PIN ready to re-enter after the reset clears the opener’s memory.
Being fully prepared before starting the reset ensures the entire process runs without interruption from start to finish.
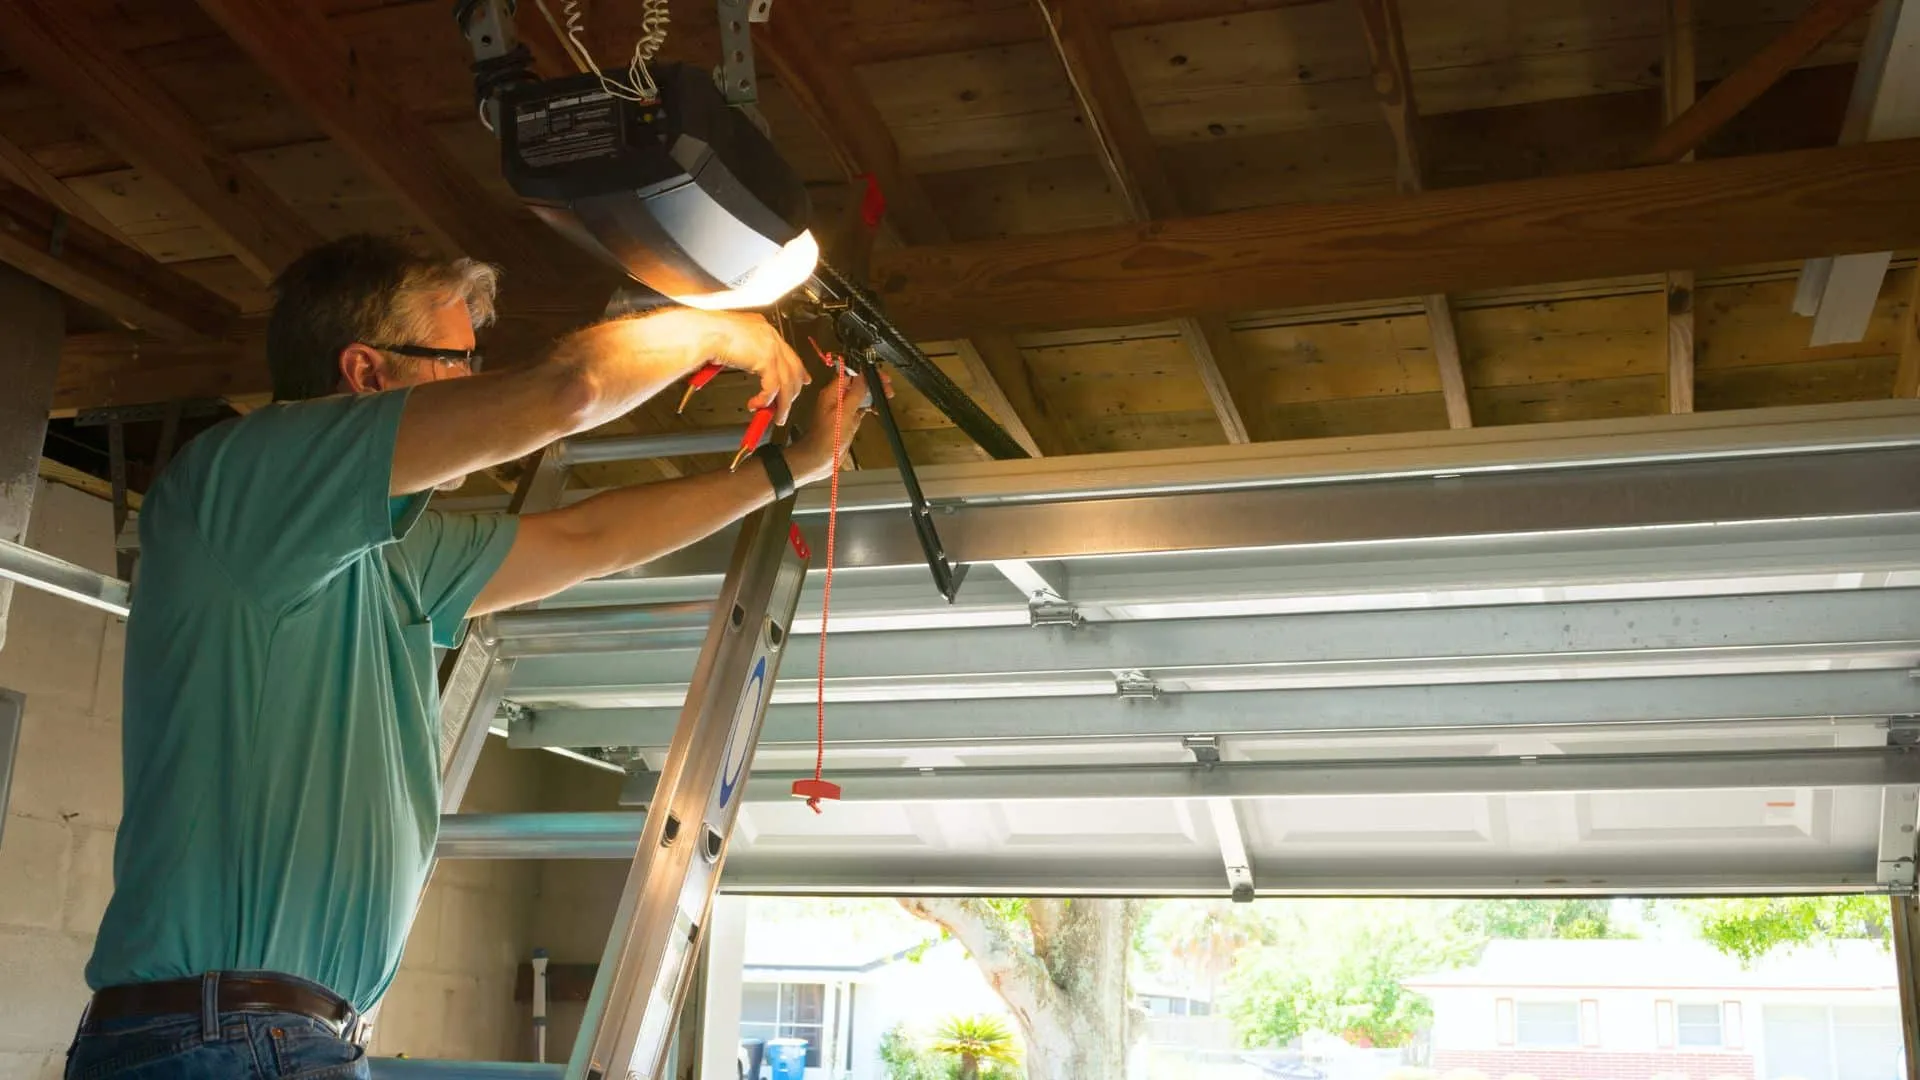
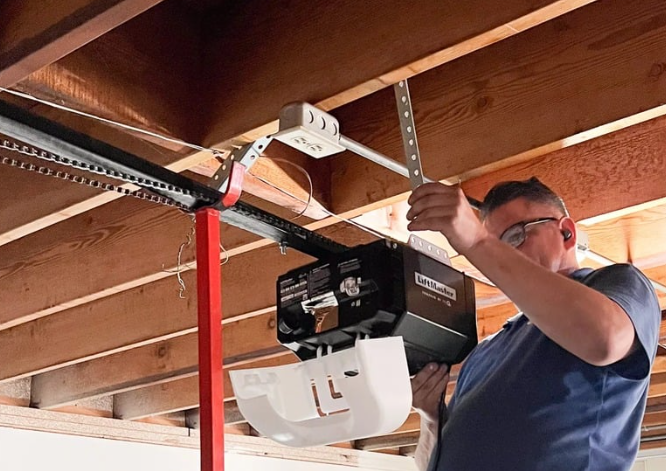
How to Reset a Garage Door Opener Fast & Reliable
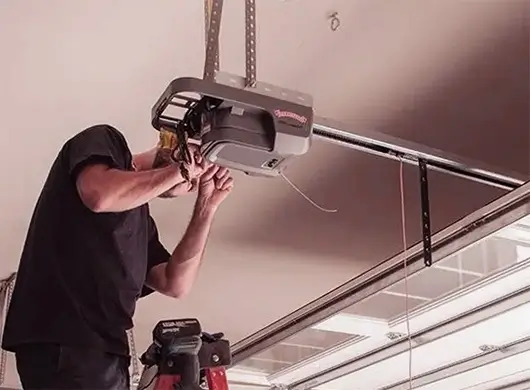
Hard Reset the Logic Board
Clearing the logic board is the foundation of any successful garage door opener reset, and every step must be followed in the correct order for the process to work.
Watch for these key steps during a hard reset:
- Press and hold the learn button for six to ten seconds until the indicator light turns off.
- All programmed remotes, keypads, and PIN codes are wiped from the opener’s memory.
- Unplug the opener unit from the power outlet after clearing the memory.
- Wait one full minute before plugging the unit back in to allow the circuit board to restart.
- Confirm the opener powers back on, and the indicator light returns to its normal state.
Following each step in the correct order is what fully clears the system and prepares it for fresh programming.
Reprogram the Remotes
Every remote loses its pairing after a hard reset and must be synced back to the opener unit before normal operation can resume.
Follow these steps to reprogram each remote:
- Press and release the learn button once on the motor unit to open the pairing window.
- Within thirty seconds, press and hold the button on the remote until the opener lights flash.
- A flashing light or audible click from the opener confirms a successful pairing.
- Repeat the pairing process for every additional remote that operates the door.
- Test each remote after pairing to confirm the door responds correctly.
Completing the pairing process for every remote right after the reset confirms the full system is operational.
Reprogram the Keypad
Keypads follow a slightly different pairing process than handheld remotes, but the learn button on the motor unit still initiates the sync.
Complete these steps to restore keypad access:
- Press and release the learn button once on the motor unit.
- Enter the desired four-digit PIN on the external keypad within thirty seconds.
- Press and hold the enter button until the opener lights flash to confirm pairing.
- Test the PIN immediately after pairing to verify the door opens and closes without issue.
- Refer to the manufacturer’s instructions for keypads that require a different programming sequence.
Restoring keypad access completes the full reset process and confirms every entry point to the garage is fully programmed.
What to Do When a Garage Door Opener Reset Does Not Work
A completed reset that still leaves the garage door opener not working points to an underlying hardware issue that no programming fix can address.
Here is what to check when the reset does not resolve the problem:
- Confirm the opener powers on and the indicator light returns after plugging back in.
- Listen for unusual noises from the motor when the remote or wall switch is pressed.
- Inspect the circuit board inside the motor unit for burn marks or corrosion.
- Check whether the opener responds to the wall switch, the remote, or neither.
- Review whether regular garage door maintenance has been performed recently.
To keep the opener running properly after a repair, read our guide on How to Maintain a Garage Door Opener and Prevent Breakdowns, which covers the maintenance steps that extend the life of the full system.
When to Call a Professional for Garage Door Opener Repair or Replacement
Repeated failures after a full reset point to a hardware problem that requires a trained technician to diagnose and resolve correctly.
Here are the situations that call for professional attention:
- The motor hums but does not move the door after a full reset.
- The circuit board shows visible burn marks or corrosion.
- Sensors cannot be realigned and continue to trigger the safety reversal.
- The opener repeatedly fails after multiple reset attempts.
- The opener’s age and repair history suggest garage door opener replacement is the more practical solution.
To determine whether repair or full replacement is the right call for the situation, read our guide on Garage Door Opener Stops Working: Repair or Replace?, which breaks down the key factors that drive the decision.
Reset Your Garage Door Opener Right and Get Back on Track
Resetting a garage door opener produces results when each step is followed in the correct order, from checking the power source to reprogramming every remote and keypad. Knowing what to inspect, what to prepare, and when to call a professional keeps the system running properly long term.
American Overhead Garage Doors serves San Francisco, CA, homeowners with the professional expertise and hands-on experience needed to diagnose, reset, and repair any opener issue. Contact us or give us a call today, and let our team get the opener back in good working condition.