Garage door springs operate under extreme tension every single day, and when they start to wear down, the damage spreads to the cables, the opener, and every other component connected to the door. Homeowners who catch these signs early give themselves the best chance of getting the problem handled before the door becomes unsafe to operate.
The signs of a failing garage door spring are not always loud or obvious, and that is exactly what makes them dangerous when they go unnoticed. This article covers every warning sign you need to know, what each one means for your garage door system, and why professional garage door spring repair is always the appropriate response.
What Causes Garage Door Springs to Break?
Garage door springs break down because of conditions that build up over time, and each one puts more mechanical stress on the coils until the spring snaps under the pressure it can no longer absorb.
Common causes of garage door spring failure include:
- Normal wear and tear gradually reduces spring tension after years of daily use
- Rust and corrosion weaken the coils and make them brittle over time
- Poor maintenance and lack of lubrication accelerate metal fatigue on the spring
- Extreme temperature shifts and coastal moisture speed up metal deterioration
- High-cycle use beyond the spring’s rated lifespan increases the risk of sudden failure
To understand why these conditions make spring repair a job for professionals only, read our guide on Why Garage Door Spring Repair Should Never Be a DIY Job, which breaks down every risk factor homeowners need to know.
Garage Door Spring Warning Signs You Should Never Ignore
A Loud Bang Coming From Your Garage
A sudden loud bang from the garage is one of the most recognizable signs that a torsion spring has snapped under the pressure it was carrying.
Watch for these indicators after hearing the bang:
- The opener runs its full cycle, but the door stays completely still
- One side of the door sits noticeably lower than the other
- Pulling the manual release cord produces no response from the door
- The opener light turns on, but no mechanical movement follows
- Dropping movement happens suddenly right after the sound occurs
Stopping all door operation the moment that a loud noise occurs is the most important thing a homeowner can do before calling a professional.
A Visible Gap in the Spring Coils
Visible separation between coils is direct physical evidence that the spring has broken and can no longer carry the load the door demands.
Look for these specific visual cues in the spring:
- A 2 to 3 inch separation is visible along the coil above the door
- Darker discoloration marks the exact point where the break occurred
- One section appears stretched while the rest looks compressed
- Uneven coil spacing runs along the entire length of the spring
- Both ends of the broken section point in opposite directions
Calling a professional at this stage is the only appropriate response to a visible gap in the spring coils.
The Door Feels Extremely Heavy to Lift
Finding the door nearly impossible to lift manually is a direct sign that the springs have lost the tension needed to counterbalance the door’s weight.
Pay attention to these physical signs during a manual lift attempt:
- Lifting the door past knee height requires significant physical effort
- Releasing the door at waist height causes it to drop immediately
- One side feels heavier than the other during the lift
- Creaking or resistance occurs even at the lowest point of travel
- No amount of upward force produces smooth or consistent movement
A door that behaves this way during a manual test needs a trained technician to assess the spring tension before anyone attempts to use it again.
Loose, Frayed, or Snapped Cables
Cable damage almost always follows a broken spring because the cables take on a load they were never designed to handle on their own once spring tension is lost.
Inspect the door area for these cable-related warning signs:
- Slack cables hang loosely along the side of the door on one or both sides
- Fraying or kinking is visible near the drum at the top of the track
- One side of the door drops lower than the other during operation
- Cables have completely unwound from the drum and lie on the floor
- Visible twisting or bunching appears along the cable length
Frayed or snapped cables paired with a broken spring put the full weight of the door at risk of dropping without warning.
Jerky or Crooked Door Movement
Uneven or shaky movement during operation is a sign that spring tension has shifted and the door is no longer traveling along the tracks evenly.
Notice these movement patterns during normal operation:
- Visible tilting occurs on one side of the door as it travels upward
- Shuddering or vibrating runs through the door during every cycle
- Scraping sounds come from the track area where the rollers make contact
- Stopping and starting happen mid-travel without any input from the opener
- The door sits at an angle when fully open instead of lying flat overhead
Continuing to operate a door that moves this way places direct stress on the track hardware, rollers, and hinges throughout the system.
The Opener Strains or Stops Midway
An opener that strains, hesitates, or stops mid-cycle is responding to the abnormal resistance created by a spring that is no longer doing its share of the work.
Monitor the opener for these performance issues:
- Motor noise increases significantly compared to normal operating sounds
- The opening movement stops completely after just a few inches of travel
- Reversing happens automatically before the door reaches the fully closed position
- Clicking or grinding sounds come from the opener unit during the cycle
- The opener’s built-in safety mechanism trips repeatedly during normal use
Operating the opener under abnormal resistance puts the motor under strain, adding garage door opener repair to the list of problems that need professional attention.
Rust or Corrosion on the Coils
Rust on the spring coils is a warning sign that the metal has already begun to break down, making the spring far more likely to snap without any further notice.
Identify rust and corrosion damage using these visual markers:
- Orange or brown discoloration covers sections of the coil surface
- Rough or flaky texture replaces the smooth metal finish on the spring
- Fine rust particles accumulate on the garage floor directly below the spring
- Coils stick together or resist separation when the door operates
- Uneven coloring along the spring reveals areas of concentrated deterioration
Rust at this level means the spring has already lost a significant portion of its structural strength and requires immediate evaluation from a professional.
Why These Warning Signs Should Concern You
Broken garage door springs pose safety risks to everyone and to every person and component inside and around the garage.
What is at stake when these signs go unaddressed:
- A snapped spring can send metal components flying across the garage at high speed
- A door without spring support can drop without warning onto anything beneath it
- Cables snap under the extra load when the spring is no longer sharing the weight
- The opener motor burns out faster when it carries the full weight of the door alone
- Tracks and rollers wear down unevenly when the door moves without proper spring tension
- Children and pets near the door are especially vulnerable when spring failure occurs
- A door stuck in a partially open position creates an immediate security risk for the home
To know how professionals respond to these situations, read our guide on Garage Door Spring Problems Only a Pro Should Handle, which covers every scenario where professional intervention is the only appropriate course of action.
What to Check Before Calling a Pro
Knowing what to look for before making the call helps you give the technician an accurate picture of the problem from the moment they arrive.
Here is what to check before contacting a garage door repair service:
- Look at the spring above the door for any visible gaps, rust, or uneven coil spacing
- Disconnect the automatic opener and test the door’s weight with a manual lift
- Listen for squeaking, grinding, or popping sounds during operation
- Check both cables for fraying, slack, or complete detachment from the drum
- Observe whether the door moves evenly or tilts to one side during travel
A visual inspection of these areas gives you and the technician a reliable starting point for the garage door spring replacement evaluation.
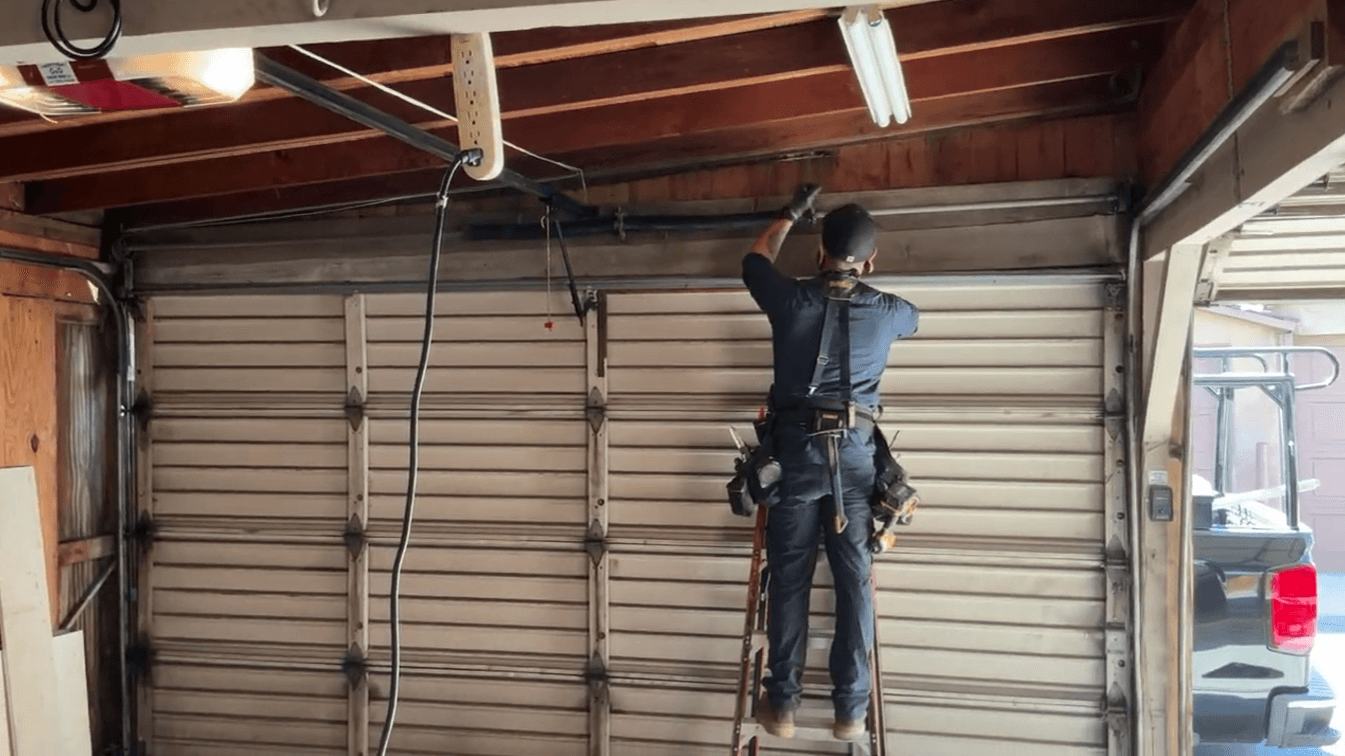
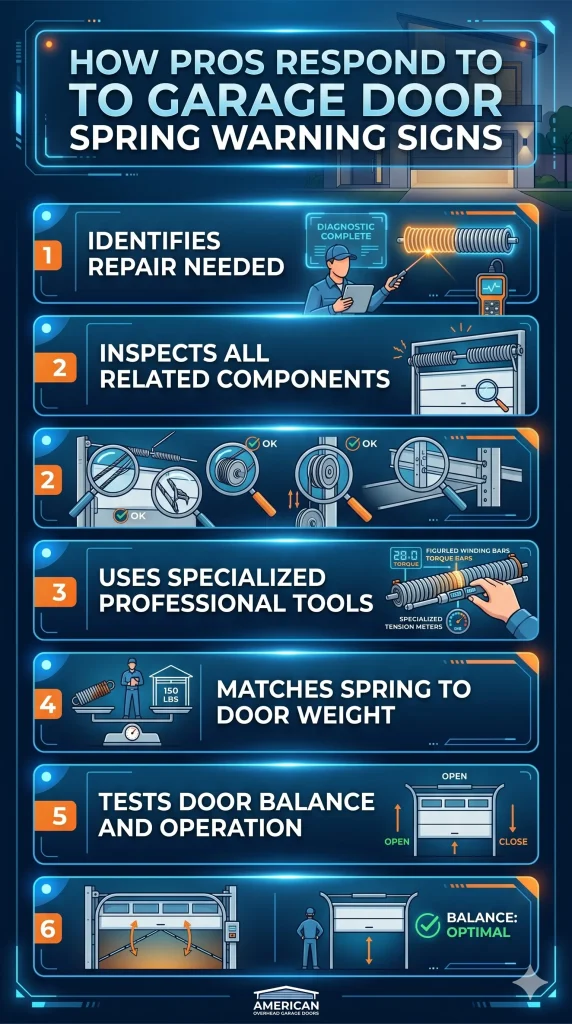
How Pros Respond to These Garage Door Spring Warning Signs
Every garage door repair spring replacement starts with a full mechanical assessment that covers the door, the spring, and all components connected to them.
Here is what a professional does when responding to these warning signs:
- Identifies the exact type of broken garage door spring repair needed through a thorough inspection
- Inspects the cables, drums, pulleys, and tracks connected to the spring
- Uses calibrated winding bars and tension tools designed specifically for spring repair
- Matches the replacement spring to the exact weight and size requirements of the door
- Tests the door’s balance and runs multiple open and close cycles before completing the job
To find out when these warning signs mean it is time to stop using the door completely, read our guide on Garage Door Spring Repair: When to Stop and Call a Pro, which walks through every scenario that calls for immediate professional attention.

How to Stop These Warning Signs From Coming Back
Consistent maintenance after a professional repair directly addresses the same factors that caused the spring problem in the first place.
Here is what every San Francisco homeowner should do after a spring repair:
- Schedule a professional maintenance check at least once a year to catch early signs of wear
- Apply lithium-based lubricant to the spring coils every three to six months
- Test the door’s balance manually every six months by disconnecting the automatic opener
- Keep the spring area clean and free of moisture buildup to prevent rust
- Call a professional immediately when any of the warning signs on this list reappear
Regular garage door maintenance is what gives your springs the best chance of a long service life after a professional repair.
Stop Ignoring These Garage Door Spring Warning Signs and Call a Pro Today
Recognizing the warning signs of a damaged garage door spring is the foundation of every effective repair, and acting on them early helps keep your garage door system protected. Garage door spring repair by a trained technician is always the appropriate response when any of these signs appear.
American Overhead Garage Doors is the trusted name in San Francisco, CA, for professional garage door spring repair and garage door repair service you can count on. Contact us or give us a call today so our trained technicians can assess exactly what your garage door springs need and get your door working properly again.